Friday, September 28, 2012

Vegetarian Fried Rice

I ate a lot of fried rice growing up.

My mom loves to cook, and we ate a lot of different foods when I was young. I don't think I really realized how--varied? international? something like that--our diet was until I went to college.

Still, we did have a few staple recipes in frequent rotation. A lot of them were plays on pasta--pasta with tuna fish, clam spaghetti, garlic spaghetti, even, infrequently, spaghetti with meat sauce.

Another one of those staple recipes was fried rice. And for good reason--fried rice is cheap, easy, and makes a lot of food. Mom's version included ground beef as well as a couple of eggs, so it serviced adequately as a main dish. We ate a lot of it, and with gusto.

So it's perhaps surprising that I don't think I've ever made fried rice in the history of my married career.

For one, neither the DDH nor I are big rice eaters. I am stupidly terrible at cooking rice, and after suffering through one crunchy dish too many, the DDH learned to greet rice dishes with trepidation. Rice isn't cheap if you're ruining it (and all the ingredients you add to it) all the time.

For another, though I remember scarfing down huge portions of the dish as a child, I remember fried rice as being too salty, with a slightly weird sour flavor (sorry, Mom), and generally not interesting enough to attempt to recreate.

But since the DDH has flatly refused to acknowledge the awesomeness of Tuna Fish Pasta, and with the impending arrival of someone who will eventually be a teenage boy, I've decided I need to revisit some of those cheap-and-easy childhood staples.

Then I ended up with a whole bunch of free cooked rice, and I knew that it was time to tackle fried rice. I could attempt the recipe without risking poorly-cooked rice. And since I didn't need to spend forty minutes cooking rice, I could actually get dinner on the table on a Monday evening when I had a Zumba class quickly followed by a church meeting.

I tweaked my mom's recipes in a few ways.

First, I eliminated the ground beef, not because I don't like ground beef in fried rice but because I didn't have any defrosted and didn't really have time for the extra step of cooking it anyway. Eliminating that and the accompanying beef broth turned this into a vegetarian recipe, but I'll report back with a meaty version one of these days.

Second, having eliminated the beef, I needed to punch up the protein somehow. The bites of scrambled egg are my favorite part of fried rice anyway, so it was a no-brainer to increase the egg in the recipe.

Third, I cut back on the soy sauce, since I remembered it being too salty (though cutting the beef broth probably also saved some sodium).

And finally, I added some other sauces and spices to give it a more interesting flavor. Adding sambal oolek gives it a touch of bite--not what I think of as a lot, but you do taste it. In retrospect, it's possible that Mom's fried rice was mild-flavored because we were kids. Specifically, I'm the kid who liked everything bland and hated spicy foods. So, umm, keep in mind that it's probably entirely my fault her recipe wasn't perfect to begin with. I bet when she makes it for just herself and Dad it's deliciously seasoned. Ahem.

Vegetarian Fried Rice

Vegetarian Fried Rice
Adapted from my mom's recipe.

As I mentioned, I started with pre-cooked rice leftover from an office lunch. If you did not have the opportunity to rescue rice destined for the trash can, you should cook it first. Cook 1 1/2 cups rice according to package directions (to yield 3 cups rice, cooked). Set it aside and allow to cool. If you're really on top of things, you could cook the rice over the weekend and refrigerate it so it's ready to go for a fast weeknight dinner. I have never actually been this on top of things, but I pretend I am all the time.

Rice courtesy P.F. Chang's and my boss.
Once you have some nicely cooked rice ready to go, proceed with the recipe:

Chop 1 medium onion and 4-5 cloves garlic so they're ready to go. I speed-demoned them in the food processor:


to:
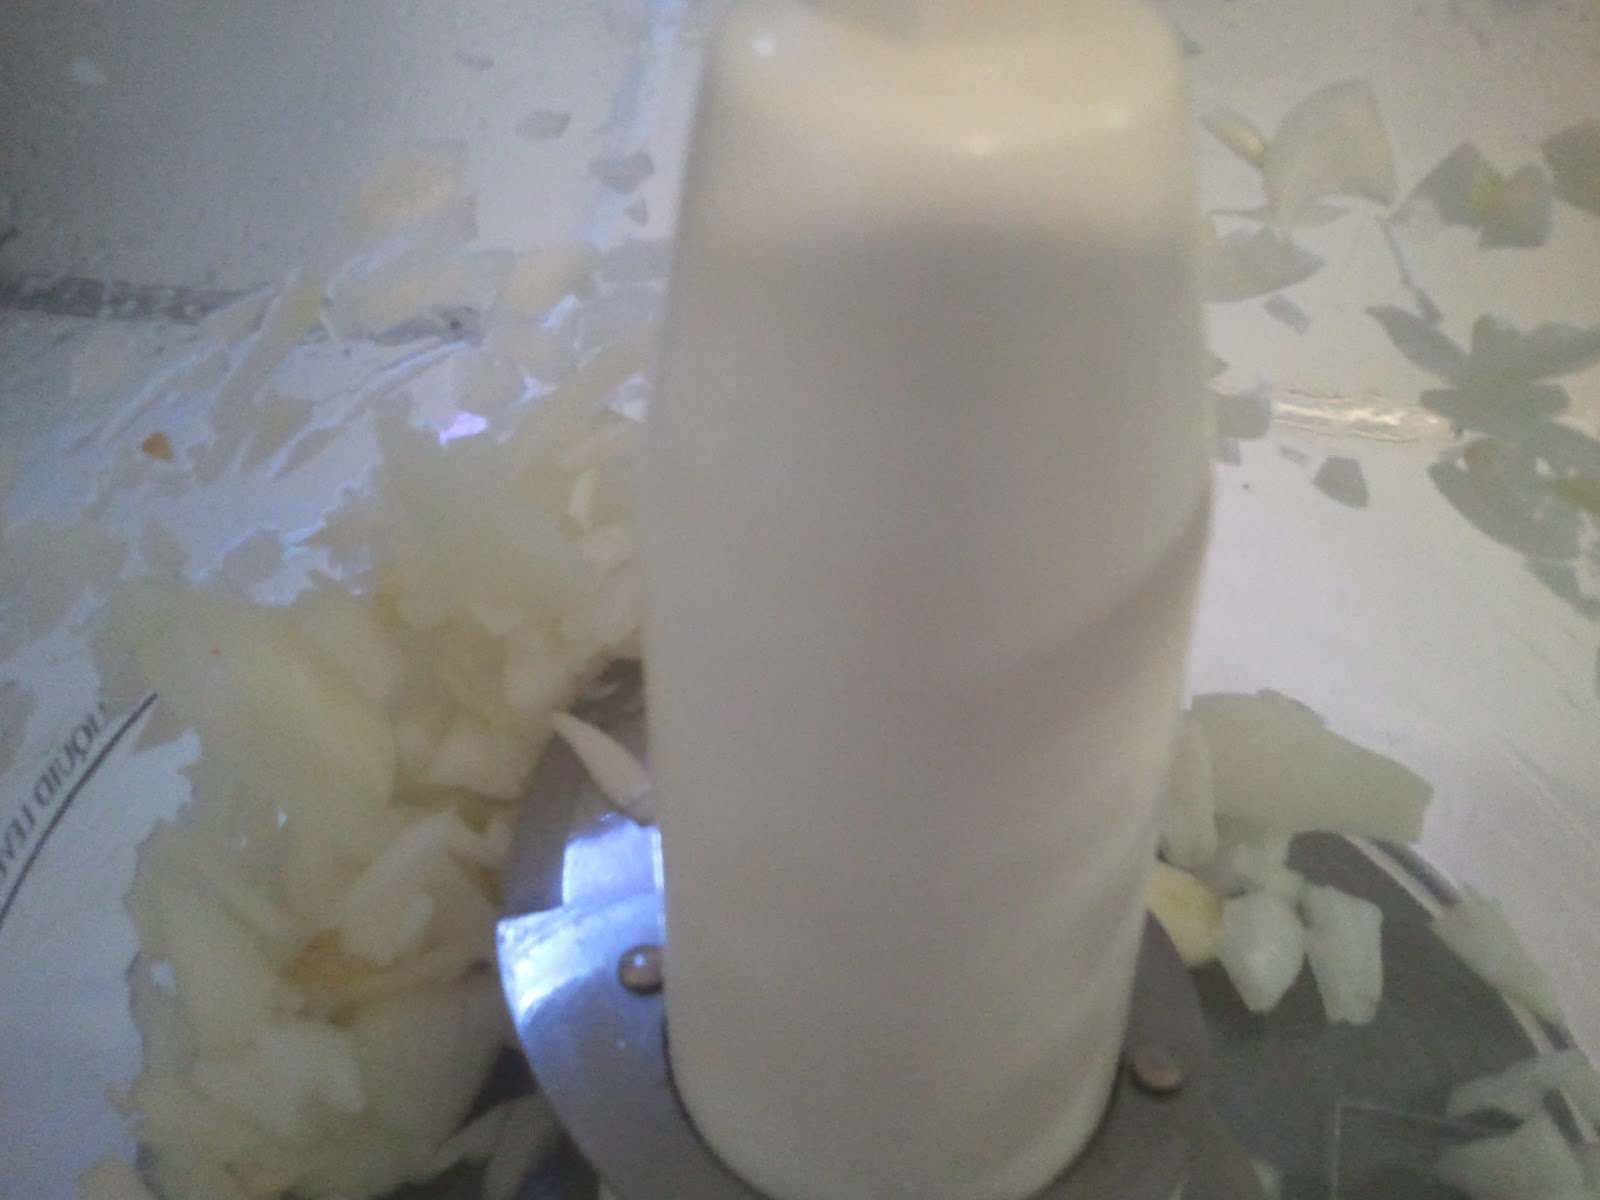
They never knew what hit them.
Heat 2 Tbs. oil in a large wok or skillet (if you know me, you know this is coconut oil, but clearly you can use whatever fat you'd like).


Add the onion and garlic


and sautee until onion is translucent.

Transluscent onion.
Add 12-16 oz. vegetables. The fastest and easiest is to use a bag of the small mixed veggies (peas, cube-cut carrots, and the like), but you can use any kind of frozen veggie mix or fresh vegetables. Almost any vegetable will taste good in fried rice.

I cut the bag open with scissors and still managed to spill
veggies all over the counter.

Cook until soft (aka thawed, if using frozen). You can stick the lid on the skillet to speed up the process.

Meanwhile, if you promise not to get distracted, scramble six eggs. I got distracted measuring out the ingredients for the next step and semi-burned the eggs. Luckily I sort of like semi-burned eggs, and the DDH didn't seem to notice. It's best if you don't get distracted, though.

Eggs.
Once your eggs are off the heat and your vegetables are done,

add 3 cups cooked brown rice and a scant 1/3 cup soy sauce (between the 1/4 cup and 1/3 cup lines).

Or more, if you like soy sauce.

In a measuring cup, spoon out 1 tsp. fish sauce and 1 tsp. sambal oolek/chile paste/hot sauce. Fill the measuring cup with water to make 1/4 cup liquid.

Add to the rice mixture.

Stir to combine and cook until rice is heated through.

Add your scrambled egg

 and mix thoroughly.

And there you have it. I was worried the DDH wouldn't find it filling enough without any meat, but six eggs seemed to add enough protein to satisfy him. Plus, brown rice tends to be pretty satisfying, fullness-wise, versus white rice. And then there's the fact that that particular combination of frozen vegetables is his favorite. At any rate, it got two thumbs up from him.

Quick, easy, cheap, tasty--it even tastes just as good the next day. Huzzah for fried rice!

Vegetarian Fried Rice


Wednesday, September 19, 2012

Sriracha Garlic Bread

I like food. All kinds of food. I'm not sure I can pick a favorite food. I would have difficulty choosing a Top Ten list.

But if you put a gun to my head and forced me to write such a list, garlic bread would probably make the cut.

Well. Until last week, when I discovered something even better than garlic bread.

Sriracha garlic bread.

Clearly, the only thing fluffy French bread, creamy butter, garlic, and a nice toast in the oven needed to turn it into the food of angels was a shot of srirarcha. Oh, and cheese.

Unlike the sriracha shrimp recipe, this sriracha recipe is not particularly spicy. You get a zing, perhaps a playful nip of spice, but the butter, bread, and cheese all counteract it so it's not overwhelming or painful at all.

Try it.

You'll like it.

Sriracha garlic bread with sriracha shrimp.

Sriracha Garlic Bread
Adapted from this recipe at Bon Appetit (which pretty much just says, make garlic bread. With sriracha).

Clearly, for garlic bread, you need a good bread. Something fluffy, with a nice crust. When the French bread at Reasor's goes on sale for a dollar, I usually stock up on several loaves and freeze the extra. The thinner loaves (long with a smaller diameter) work as well and will make cute little bite-size toasts that are great for serving at a party.

The DDH cuts.
Make sure to cut nice thick slices, Texas toast style. You want to still have fluffy warm bread innards even once the outside is crisp and toasty.

Line a cookie sheet with foil (to cut down on cleanup) and lay your bread slices out on it.

Through trial and error (delicious, delicious trial and error), we discovered that you need about 1 Tbs. butter per slice of bread. You can get away with as little as 1/2 tablespoon, but why bother?

It helps if the butter is softened, but it's not necessary.


Put some garlic, minced, in with your butter. This is a matter of taste. We used three big cloves for five pieces of bread.

The DDH, a purist with much better knife skills than I, truly minced the garlic; I usually toss it in the garlic press because I'm lazy like that. If you like bigger chunks of garlic on your bread, I would use more and merely dice it.

Minced garlic.
Anyway. Whip in 1/2 to 1 Tbs. sriracha. Again, this is a matter of taste. The DDH says he used about a squeeze per tablespoon of butter. Remember that you can always add more, but you can't take it out if you use too much. :-)
 
You'll notice that the mixture is liquid in the picture. The recipe DDH used said to whisk the sriracha and garlic with melted butter, but through the aforementioned delicious, delicious trial and error, we discovered that it is more effective to whip the softened-not-melted butter, garlic, and sriracha using a handheld beater or a whisk and a strong whipping arm. The butter goes further this way when spread on the bread; it's hard to distribute liquified butter evenly to all the bread pieces.

You want whipped, not liquid, butter mixture.
Spread the butter mixture on your bread slices. Make sure to butter both sides of all the breads!

Orange bread.
Preheat the broiler; we discovered that low was safest with our broiler but broilers vary greatly.
 
Grate Parmesan or Pecorino Romano cheese over the bread slices.

Broil for about three minutes on low. Broilers take bread from toast to terrible pretty quickly, so keep an eye on them.
 
Flip, add more cheese, and broil for another three minutes or so, until the cheese melts and the bread is golden brown around the edges.

Astute readers may notice there is more bread on this pan
than in the pre-toasted pictures. I *told* you we learned
that broiling bread on low was safer....

 Those bits of crisped cheese between the bread slices are good eating, too. Just saying.

Serve with a meal or as a delicious, delicious snack.

Sriracha garlic bread and soup.

Monday, September 17, 2012

Sriracha Shrimp

Sriracha sauce is one of those miracle ingredients that ought to be a staple in every pantry.

Its spicy, vinegary flavor is essential to many Asian dishes, punches burgers up a notch, and rounds out the flavor of tacos and enchiladas. You can (and should) add a dash to eggs and chicken and even salad dressings. We're contemplating experimenting with it in dessert dishes.

Seriously.

It's that good.

Anyway, for those of you who want more than just a hint of sriracha's zippy flavor, the DDH found and executed this sriracha shrimp recipe. As written, it is spicy. Really spicy. I mean, I'm sort of a wimp about spiciness (though, sidenote, my New Mexican spice-wimpiness translates to a pretty high spice tolerance in the Midwest, and the Germans pretty much think I have magical spice-enduring powers), and the first night of this was a little much for me. The spice mellows a bit when eaten as leftovers, however, and you can also use less sriracha to start with (note to self: use less sriracha to start with).

Either way, I highly recommend pairing this with a bland, absorbant grain like rice. We ate it with some quinoa (technically a seed, but it acts like a grain) and tall glasses of milk.

Sriracha shrimp with quinoa, vegetables,
and sriracha garlic bread.
 

Sriracha Shrimp
Adapted from this Bon Appetit recipe.

Heat a large skillet on medium. Add 2 Tbs. butter

and 6 Tbs. Sriracha sauce. You could about halve this (and add more butter, if you want) to cut down on the spiciness.

 Stir together until butter is completely melted and the sauce is combined.

 Add 3+ cloves minced garlic


Have I told you how much I love my garlic press?
and sautee for about thirty seconds.
 

The sauce may start to thicken a bit.
Add 1 pound shrimp, peeled. (To make skewers of shrimp, like as fancy appetizers for a fancy dinner party, you could leave the head or tail on. If you plan to just eat piles of shrimp mixed in with rice, make sure they're completely peeled and detailed. Or you will get chemical burns on your fingers de-tailing spicy shrimp. Not that I would know this from personal experience or anything.)

If you're using pre-cooked shrimp, you want to just sautee until they warm up, a minute or two. If the shrimp are not yet cooked, cook until done.

Scramps.
When the shrimp are almost done, add 1 Tbs. lemon zest, 1 Tbs. dried mint (or 2 Tbs. fresh, chopped), and 1 Tbs. dried basil (or 2 Tbs. fresh, chopped).
 
Zest in back (I zest any lemons I buy and
freeze it so I always have zest on hand).
  
Mix well and cook about a minute longer (or, if using fresh herbs, until herbs wilt).

As mentioned, you can skewer lines of shrimp for a fancy presentation:

Fancy Dinner Party style.
 Or eat piles of them with rice, quinoa, or pasta.

We found lemon juice to be most effective at stopping burning after the DDH rubbed his face with srirachified hands (yes, he washed them first. That doesn't really mean anything to capsaicin).

Yum.

Pretty colors!


Wednesday, September 5, 2012

The Great Cookie Experiment: Sugar

If there's anything I've been craving this pregnancy, perhaps it would be cookies. It's hard to say, because I'm quite the cookie fan anyway.

I've been baking a lot of cookies lately, usually chocolate chip. I thought it would be fun to experiment with some cookie basics. For Science! Of course.

In Ratio: The Simple Codes Behind the Craft of Everyday Cooking, Michael Ruhlman presents the "essence of cookie" ratio: one part sugar to two parts butter to three parts flour. This produces a shortbread cookie, rather than the chewier drop cookie base you usually use to make chocolate chip cookies. But if I wanted to eventually divine The Perfect Chocolate Chip Cookie recipe, I decided I'd better start with the basics.

Plus, shortbread cookies are tasty, too.

The first experiment had two parts: one, to get a taste for the cookie this ratio produces at its most basic, aka the all-purpose flour, white sugar shortbread cookie.

Second, I wanted to vary some of the ingredients to get an idea of different sugars, fats, and flours affect the finished cookie product.

For the first night, the simplest substitutes: sugars.

I made a tiny batch of Ruhlman's essential cookie ratio, one each with white sugar, brown sugar, and honey.

The white sugar is basic, obvious, subtle, traditional. Brown sugar usually features prominently in the various drop cookie recipes I used, and I expected it to provide a bit of depth to the unadorned cookie flavor (remember, these cookies are otherwise completely unseasoned--no spices, no vanilla). I wasn't sure how honey would react, but was curious what effect it would have on both the texture--since it's a liquid instead of a powder--and the taste of the cookies.

Now, no scientific lab in the country would call this a rigorous or clean experiment. I made the batches one at a time; the butter was in varying stages of softness (and I know this effects the outcome of the cookies) and they were in the refrigerator chilling for varying lengths of time (but for several hours, so, probably that didn't matter that much).

Also, I didn't weigh the butter the first time but just cut it in half following the little tablespoon guidelines on the package; when I weighed the second half, I realized that it was likely .10 ounce or more larger than the "half" I used in the first batch. I don't know if that's a material degree of difference. My scale only measures to the .05 of an ounce anyway.

Oh, and I mixed them all in the same bowl without cleaning it between batches. So. Dangerous cross-contamination or whatever.

Full disclosure. ^_^

Anyway, for each batch I followed the same procedure:

Weigh out one ounce of sweetener.

White sugar.
Brown sugar.
Honey.


Pour in a bowl with two ounces (ish) of butter.

Butter.
Beat together until creamy.

White sugar; not beaten enough.
Brown sugar.


Honey. See how much smoother it is?
Stir in three ounces of flour.

Flour.
Work into dough. With the exception of the honey batch, this was hard to do. The doughs, with such a high proportion of flour to fat, were crumbly and dry. Perhaps more vigorous mixing would have helped to better incorporate the flour. Perhaps all shortbread doughs are like this--I usually make higher-fat drop cookie doughs.

White sugar.

Brown sugar--not fully mixed.

Honey.

Anyway. I did manage to mash them all into balls.


White sugar.


Brown sugar.


Honey--a much more cohesive a dough than the others.
I tasted all of the doughs at this point, and the results were as I expected. The white sugar makes a dough that doesn't really taste like much--slightly buttery, slightly sweet, mostly just white. The brown sugar gave the cookie, still only subtly sweet, that toasty, molasses flavor that brown sugar imparts (because brown sugar is pretty much white sugar + molasses). The honey tasted...weird. The honey flavor was much stronger than even the brown sugar flavor, and perhaps because it's unexpected (you don't run into honey-sweetened cookies that often), it was jarring. More on that later.

The dough chilled while I went to Zumba and made dinner and ate dinner. Eventually I came back to it and preheated the oven.

I took the chilled doughs out and forced the DDH to sample them. You wouldn't think you'd have to force anyone to sample cookie doughs, but he doesn't like shortbread. He said the two sugar ones were fine, but he spit out the honey one and called it nasty. The DDH does not care for unexpected flavors. While he didn't particularly care for any of them, he thought the brown sugar one tasted best and (obviously) the honey one the worst. I gave him a bit more of the brown sugar dough to take the honey taste out of his mouth.

I made three balls out of each cookie dough, trying to make them roughly the same size, put them on my silpat-lined cookie sheet,

Left to right: Honey, brown sugar, white sugar.
For some reason, the brown sugar was super crumbly
compared to the white sugar--I feel like something else messed
it up, since if anything brown sugar is more moist than white.
and baked for about twenty minutes. Usually you roll shortbread dough into a log, chill it, and slice flat round cookies off, but that was too much work with my three crumbly doughs; I figured that if I treated them all the same it would count for the purposes of the experiment.

Left to right: Honey, brown sugar, white sugar.
The DDH repeated his performance tasting the final cookies; he maintains shortbread is kind of gross to start with, that the honey ones were disgusting, the white sugar ones tolerable, and the brown sugar ones mildly tasty.

I actually liked all three, though I agreed that the brown sugar would be my favorite.

The white sugar shortbread really is just the perfect essence of a shortbread cookie. It doesn't taste like anything except that short taste that defines shortbread, and as such would be the perfect backdrop for whatever flavorings you wished to use--citrus or spices or nuts. Lemon poppyseed shortbread? Cinnamon vanilla? Pistachio? All would be perfect with that base, which is not very sweet and thus makes a nice "grown-up" cookie that could showcase fun "grown-up" flavors.

White sugar shortbread cookies.
The brown sugar shortbread was a better cookie just plain, because it had more flavor. It's still not very sweet, but the touch of molasses added depth. If I were to make plain shortbread cookies, I might make these, with a bit of vanilla and salt to punch up the flavor slightly. And brown sugar, I think, is the sugar of choice for drop cookies--it would go best with the chocolate.

Brown sugar shortbread cookies.
And the honey cookies...they really do taste different. Technically, they were the most flavorful of the three, and once you adjust to the flavor, or expect it, that's a good thing. I could see serving them with jam or pats of butter like biscuits, with mint tea or something. I may never make them again because I think more people would agree with the DDH that they're disgusting than would agree with me that they're tasty, but I was glad to have tried the experiment. I'm not too beat up about eliminating honey as a sweetener in my future cookie experiments, anyway, since it's by far the most expensive of the three.

Honey shortbread cookies. You can see the texture is much
different from the dry sugar cookies.
So there you have it, the Great Cookie Experiment Part One: Sugar! I plan to use the same ratio to vary the fat (butter vs. coconut oil vs. ?) and the flour (white/All-Purpose vs. whole wheat vs. half-and-half). Then, armed with those results, I plan to start playing with the ratio to see if I can achieve other cookie textures and whatever else we want to try!

Categories

almonds (2) apples (1) Asian (2) asparagus (2) avocados (1) bacon (8) baked (11) beans (3) beef (9) berries (4) bok choy (1) bread (7) breakfast (11) broccoli (3) budget (43) butternut squash (3) cabbage (2) cake (1) caramel (2) carrot (10) cheap (46) cheating (11) cheese (12) chicken (11) Chinese food (3) chipotle (1) chocolate (6) cookies (1) cooking rules (18) corn (4) cranberries (1) cream (3) cream cheese (2) crockpot (2) cucumber (1) dairy free (4) dessert (10) dipping sauces (3) dried beans (2) eggs (11) experiments (2) fast (40) fish (1) from scratch (41) garden (15) garlic (22) gluten free (5) grain free (3) green beans (2) greens (5) grilling (4) grocery shopping (8) healthy (32) homegrown (7) honey (8) Indian food (2) jalepeno (6) lemon (8) lentils (1) lettuce (3) lime (3) make ahead (6) Mexican (5) milk (3) oats (2) onion (12) orange (4) paella (1) pasta (11) pasta sauces (10) peanuts (1) pecans (1) pork (4) potato (6) pumpkin (2) quick sides (7) quick version (7) reality bites (14) rice (6) rice noodles (1) roasted (1) sage (1) salad (5) sausage (4) shrimp (4) simple (54) snacks (6) soup (5) sourdough (1) spinach (1) spring (4) sriracha (2) summer (11) summer squash (7) sweet potatoes (6) teriyaki (1) the DDH cooks (13) tomatoes (16) tortillas (5) vegetarian (24) winter (11) winter squash (2) zucchini (7)