Tuesday, August 21, 2012

Lemony Orzo Salad with Fresh Veggies and Goat Cheese

Last week, I made this same salad with chicken and frozen vegetables. With the chicken, it made a great one-dish entree.

This week, I made the same thing but with some fresh veggies and goat cheese but no chicken. This vegetarian version is more of a side dish and makes a more frugal version to bring to potlucks. It's also a good way to use up fresh veggies you may have lying around.

The dish is a quick one to make even when you're cooking chicken, but once you eliminate that step, it's ridiculously speedy. I reluctantly set my book down at 5:10 p.m., let the dogs in, looked up the recipe, cooked it, changed into my gym clothes, turned on the printer computer, force the snail-computer to open up my meeting agenda, make some changes, set it to printing, and was out the door for Zumba by 5:50 p.m. Obviously some multi-tasking was involved here, but orzo takes less than ten minutes to cook and nothing else takes long, either.

There's enough of a difference in how you deal with some of the vegetables that I thought I might as well write another post, but be sure to check out the original to see another riff on the same basic recipe with some tips regarding other ways to vary it.

Lemony Orzo-Vegetable Salad with Goat Cheese
Adapted from Cooking Light, July 2010


Orzo.
Cook 3/4 cup orzo according to package directions. Drain, rinse with cold water (to help keep the pasta from clumping together), and set aside.

While the pasta cooks, make the dressing.

For the dressing, combine 1/4 tsp. lemon zest; 3 Tbs. lemon juice*; 1 Tbs. extra-virgin olive oil; 1/2 tsp. salt; 2-3 cloves garlic, minced; 1/4 tsp. honey, and 1/8 tsp. black pepper


Dressing ingredients.
in a small bowl or dressing container.


Layers.
Whisk or shake until emulsified.


No layers.

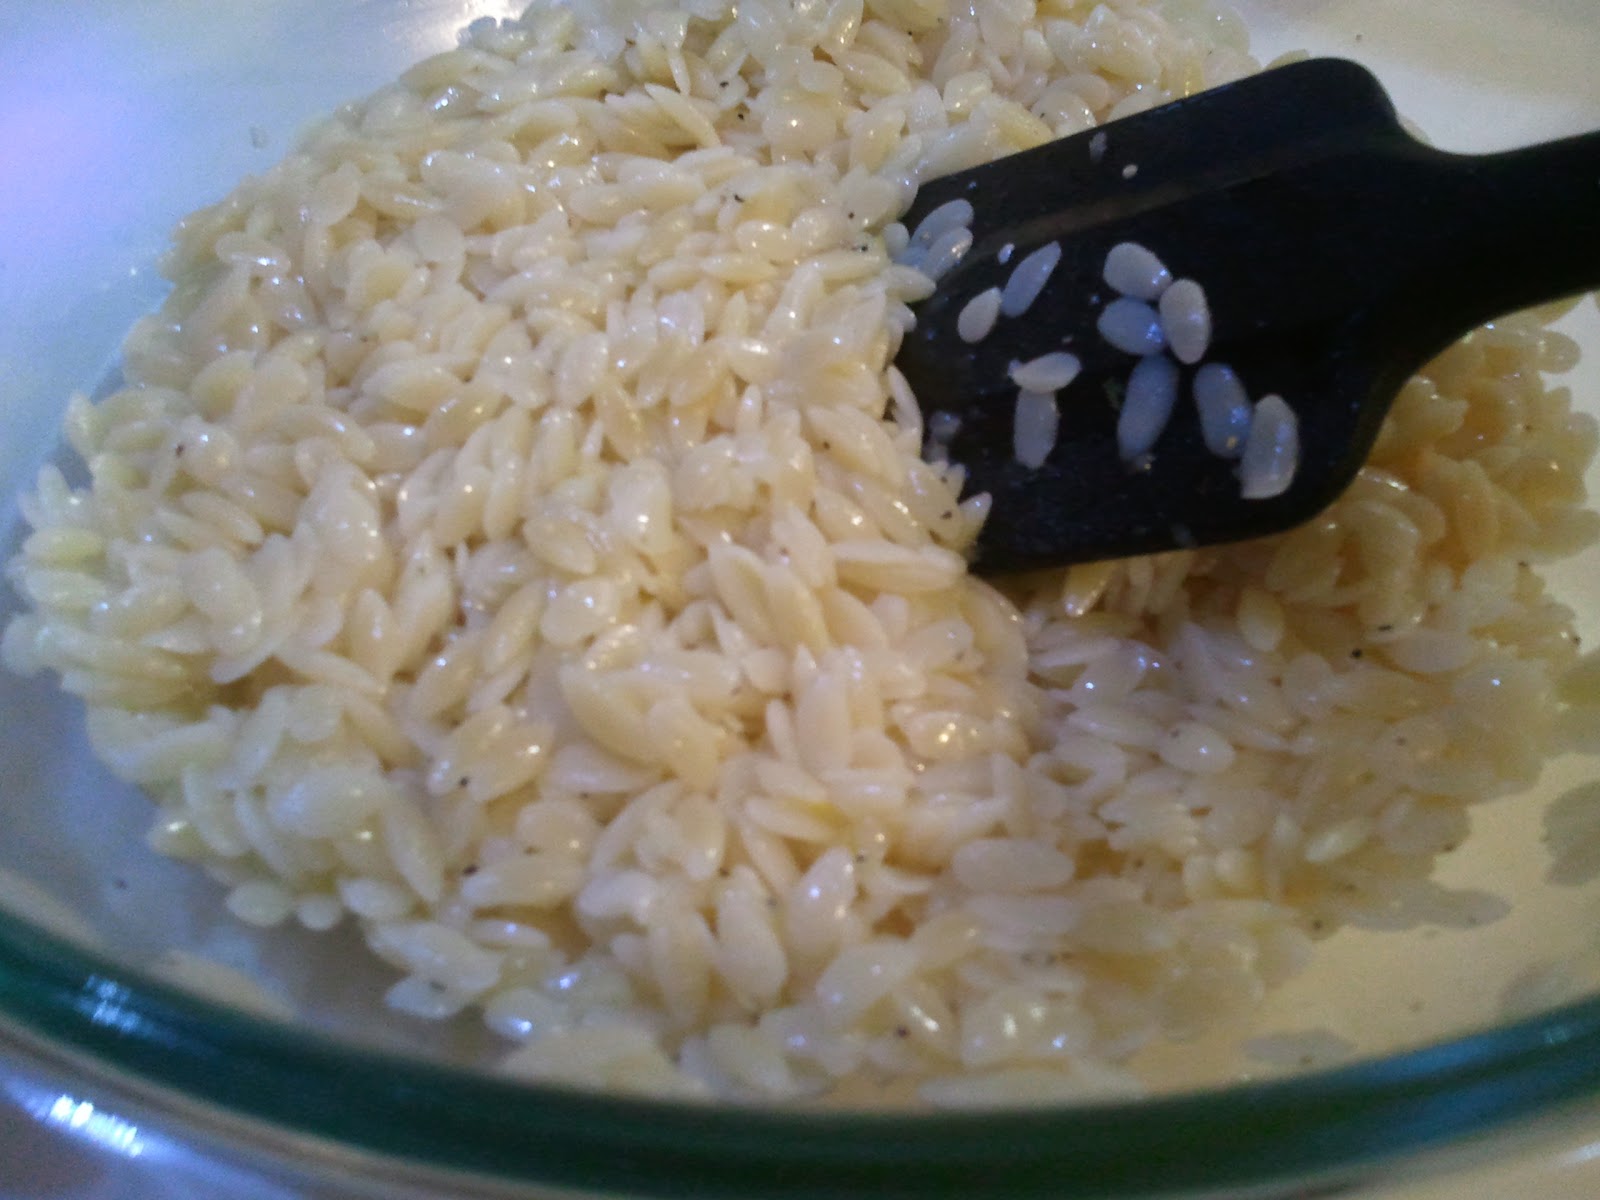
Once the orzo is cooked, put it in a large bowl
Bowl o' orzo.
and add your vegetables. For this version, instead of using frozen vegetables, I wanted to use some grape tomatoes and a bumpy yellow squash I got at the farmer's market on Saturday.

Tomatoes work great in this dish raw. Just rinse them off, cut any big ones into bite-sized pieces, and add them to the cooked orzo. I used about 1 1/2 cups grape tomatoes.

Smooth-skinned squash could be addred raw, but the bumpy-skinned ones are a little tougher; you'll want to sautee them first.

Heat a little less than 1 Tbs. oil (coconut, olive oil, butter) in a large skillet.

Thinly slice 1 medium yellow squash. Add to the hot oil.

Raw squashes.
 Cover
Cooking squashes.
and steam-sautee for five to ten minutes or until squash is soft.

Soft cooked squashes.
Add to the orzo and tomatoes.

Drizzle with dressing and toss to coat.

As with the chicken version, this tastes best after being allowed to sit and marinate for awhile.

Before serving, crumble 2 oz. goat cheese on top and stir in.

Enjoy!


Friday, August 17, 2012

Pasta in Progress


I know it's been quiet around here lately.

Partly we can blame a hectic schedule and baby preparations and all that jazz.

But partly I've been practicing a new skill, and I don't want to post about some of the food I've been making until I'm confident my directions won't send you skidding into a ditch and dying. Metaphorically speaking, of course.

A hint?


Fancy.
Pasta! I've been putting my little pasta machine to work. And though you can pick up a little pasta machine for about twenty bucks at Ross, I'm also working on recipes for which you don't need any fancy equipment at all.

Because fresh pasta, guys?

With meat sauce.
So, so good.

And also not all that hard to make.

But a little bit time-consuming.

Which I guess is why they invented dried pasta.

Not the point.

Anyway, I have a number of ideas percolating. I'm thinking tortillas might be next on the experimentation list, and I have Epic Posts on chickens (roasted + stock) and chocolate chip cookies (completely unrelated to the chickens, except as dessert) half-formed. Any requests? Anything you'd like to see me tackle on here? I will of course keep posting other random reality foods, as well.

In the meantime, buon appetito! (Assuming that's something Italians actually say, of course.)

Wednesday, August 15, 2012

Lemony Orzo-Vegetable Salad with Chicken

I am obsessed with orzo.

I mean, not really. But I love it. It's pasta, but pasta in funny little rice-sized pieces. The texture appeals to me.

Orzo is perfect for pasta salads. It cooks quickly and tastes good hot or cold. Which, of course, makes it an excellent summer dish, as well as a great make-ahead meal or potluck supper option.

This recipe is fast and easy. But though it comes together quickly, it tastes best after it sits awhile. I ate my portion hot off the stove last night and was a bit disappointed.

"The DDH is going to hate this," I thought. "It's bland and boring." (The DDH often thinks my food is bland. I tell him this is because I have a more refined and sensitive palate than he does. He and my mom both say it's because I like bland foods. I argue that I like bland foods because my refined and sensitive palate distinguishes flavor nuances unfathomable to boors such as they. They disagree. Etc.)

The DDH came home and ate his portion of the orzo salad an hour or so later. And the DDH did not hate it. The DDH told me it was delicious. So did our friend, who came sniffing around and asked for some even though it was after dinnertime, because twenty-something boys are a lot like teenage boys and are always hungry. One of the DDH's co-workers asked for the recipe based on the smell alone (hi, coworker!). Obviously, the marinated-for-awhile salad was not at all bland, but instead delicious.

So here you go.

Lemony Orzo-Vegetable Salad with Chicken


Lemony Orzo-Vegetable Salad with Chicken
Adapted from Cooking Light, July 2010

Orzo.
Cook 3/4 cup orzo according to package directions. Drain, rinse with cold water (to help keep the pasta from clumping together), and set aside.

Meanwhile, heat about 1 Tbs. oil (I used coconut, but olive oil or butter would work, too) in a large pan.

It was actually finally cool enough in the house that the
coconut oil started out semi-solid!
Cut 1 pound boneless skinless chicken breast into bite-sized pieces.

Chicken.
Toss your chicken into the hot pan. Cook on high for two minutes or so until browned, then turn heat down to low and cook until chicken is done, about five to eight more minutes.

For the dressing, combine 1/4 tsp. lemon zest*; 3 Tbs. lemon juice*; 1 Tbs. extra-virgin olive oil; 1/2 tsp. salt; 2-3 cloves garlic, minced; 1/4 tsp. honey, and 1/8 tsp. black pepper

Dressing ingredients.
in a small bowl or dressing container.

Layers.
Whisk or shake until emulsified.

No layers.
Now, for veggies, you have some options. One is to cut up any delicious fresh veggies you have on hand and toss them in raw. This works with tomatoes, summer squash, zucchini, cucumber, peppers, etc. For crunchier veggies (carrots, broccoli, etc.), you should probably steam them first to soften them.

However. Honestly, I steamed up a bag of cut mixed veggies from Sam's Club. The one with the green beans and peas and little cubes of carrot. The veggies are already conveniently bite-sized and will mix well with the orzo and dressing.

Use whatever you have on hand, but obviously a tomato-cucumber version (perhaps with some feta or goat cheese?) will be sort of a completely different dish than a green bean-carrot-corn version.

Put your orzo in a large bowl.

Bowl o' orzo.
Drizzle the dressing over the pasta and toss well.

Admittedly, you can't see a difference in the picture.
Then add your cooked chicken

Lots of beige.
and veggies

Color!
and stir to combine.

Finito.

Ta-da! You can eat this now or let it sit, at room temperature or in the fridge, for an hour. Reheat or eat cold. Serve with a spoon (word from the wise: orzo is hard to eat with a fork).

*Note: In a raw application like a salad dressing, fresh lemon juice and zest will taste miles better than bottled juice. This doesn't mean bottled juice won't do in a pinch, but it will not taste the same! I suggest always buying an extra lemon or two each time you buy some for a recipe that calls for a lot of lemon juice (lemon squares, for example). Squeeze the extras and freeze all your juice in ice cube trays. Once frozen, pop them out and store in bags or containers in the freezer. It's not quite as good as fresh juice, but better than bottled. I freeze extra zest, too.

Sunday, August 12, 2012

Taco Salad

I wanted M&M's for dinner. All the M&M's in the world.

"I'm going to the store," I told the DDH. "I'll be back with however many M&M's $105 will buy me."

I didn't buy a single M, as it turns out. I bought sour cream and kidney beans and other things the pantry needed and made taco salad for dinner instead.

Taco Salad.

Taco Salad
Adapted from Better Homes & Gardens New Cook Book Special Edition..

Preheat oven to 350 degrees.

Theoretically, you can make tortilla-shell bowls for your taco salad, just like you get in a Mexican restaurant. All you need to do is take your oiled tortillas and fold them into little individual baking dishes and bake them.

But honestly I don't like getting taco salads in those bowls at the restuarant. The tortilla bowl gets soggy and weird tasting and you never really end up eating it anyway. So I left my tortillas flat.

Either way, you'll need six tortillas. Lay them out on a cookie sheet


and brush one side with water, butter, or oil. You need to get them a bit wet so they don't set on fire or burn, basically, and just water will do the trick. Butter or oil (I used coconut) will add flavor and give them a pretty browning.

Just enough to give them a nice sheen.
Bake your tortillas for 10-20 minutes or until browned on top and a bit crispy. Remove from oven and set aside.

Meanwhile, in a large pan, brown 1 pound ground beef and approximately 3 cloves garlic, minced.


Cook until the beef is done; drain off the fat if desired. One benefit of grass-fed beef is that there's rarely enough fat to be worth draining off, only enough to be flavorful. Saves on paper towels and dishes!

Add 2 cans kidney beans (Two cans of beans equals about three cups cooked and drained beans. One cup of dried beans makes about 2 1/2 cups cooked beans. So if you were starting with dried beans the night before, you would prepare about a heaping cup of dried beans, soak, cook, and then add to the recipe here. Or, if you cook bulk batches of dried beans and freeze them, you'll want to grab about three cups and take them out to thaw when you first start the tortillas. Got all that?),

When using canned beans, drain and rinse to help removeexcess sodium.You can reserve the drained liquid of canned and especially home-cooked beans and add it to the salsa for additional flavor and nutrients.


1 1/2 cups salsa, 

Roughly. You can always add water or bean juice tostretch a smaller salsa supply.

1 1/2 cups corn

You can definitely get away with less or omit entirely.I found the sweet corn notes to be disconcerting, but to other people that's the best part.
 to cooked beef.

Beans and corn.

With salsa.

Bring to a boil.

There should be enough liquid for it to boil. If not, add some water.

Turn heat to low and simmer, covered, for ten minutes.

Serve on lettuce with a tortilla. Delicious garnish ideas: cheddar cheese, sour cream, tomatoes, avocado, and green onions.

With cheese and sour cream.
Verdict? Delicious. The salsa you use will greatly affect the final flavor, making it spicier or sweeter. You could use all beans for a vegetarian version or change the meat : beans ratio to reflect your preferences or the supplies you have on hand. Black or pinto beans would be a good substitute for kidney beans.

The DDH and our dinner guest both loved it, even getting seconds. It made excellent leftovers, as well, though the DDH opted to skip the lettuce and make a burrito instead. The meat mixture makes an easy, tasty, and filling Mexican meat for a variety of uses: tacos, burritos, and nachos as well as salads.

Thursday, August 9, 2012

Just Tomatoes Sauce for Freezing

I've been remiss in posting, but not in cooking! I've been up to all kinds of shenanigans in the kitchen, including impromptu bagel French toast Sunday that I should have documented for posterity, but didn't.

So good.

Anyway. For those of you who haven't noticed, it's August (already!). What does August mean? Tomatoes! Technically the tail-end of the tomato season, especially considering the crazy heat we've been having in Oklahoma. But that just means there are lots and lots of delicious, juicy, but maybe not completely perfect tomatoes available at the Farmer's Market (and perhaps in a backyard near you)!

I love tomatoes. I tend to buy pounds and pounds of them this time of year--pounds and pounds that I can't possibly eat before they dissolve into icky tomato mush.

So I turn them into a basic tomato sauce for freezing. Fast, simple, no messing around with canning and acidity levels and botulism. I have plenty of room in my freezer for a few flat baggies of sauce. Because the sauce is unseasoned, it can be used in all kinds of recipes later--to add a tomatoey punch to taco meat, summer flavor to tomato soup, or, of course, as the base for all kinds of pasta sauces.

If canning intimidates you but you want to store up some of that summer-fresh produce for winter, do this. Trust me.

Just Tomatoes Sauce for Freezing
Adapted from this recipe at The Girl's Guide to Guns and Butter.
And by adapted, I actually mean that mine's just a smaller batch, I think.

Start with some tomatoes. It doesn't really matter how many you have; this will work fine with two pounds or ten, so long as you have an appropriately-sized pot.

Core the tomatoes and chop them into pieces. Large bite-sized pieces are about right; this might be quarters or eighths or halves, depending on how big your tomatoes are. Feel free to toss grape tomatoes in whole.

De-seed the tomatoes if you want, though I like them left in. Don't worry about the peels, as those will be shredded when you blend them anyway.

Chopped tomatoes.
Put the tomatoes in a pot.
Potted tomatoes.
Sprinkle them with salt to taste (I tend to undersalt here since I use this sauce in such a variety of end dishes).

Add just a splash or two of water. You want enough to help the cooking get started, not dilute the flavor.
Not much water at all.
Bring to a simmer and cook, uncovered, 10 to 35 minutes. Yes, that's a wide time range, but remember I gave you a wide poundage range! Two pounds of tomatoes don't take long; ten pounds will take longer. The key is to get your tomatoes to look like this (feel free to beat them up with a potato masher if you'd like):
About halfway done.
And finally this:
Done.

The tomatoes should break down and get juicy (I told you you didn't need to add much water), but shouldn't cook down or get thick.


Cooked tomatoes.
Then it's time to blend! You have two options, depending on your available equipment: immersion blender or regular blender. Or, I guess, food processor.

To use a regular blender or food processor, pour your cooked and somewhat cooled tomatoes into said appliance and blend until smooth.

If you have an immersion blender (and you should, if you like sauces and soups and all other kinds of things), you can blend right in the pot. Or you can pour the cooked tomatoes into a bowl that's better shaped for pouring; this will make it easier to pour your sauce into plastic bags for freezing.
Blending.

Blended.
The sauce should be nice and smooth once blended.

Once the sauce is fully cooled, you're ready to bag and freeze it. You'll need freezer bags, not just storage bags. These use a thicker plastic and a better seal to keep everything fresh and tasty in the freezer.

You could always use plastic or glass containers with lids, too, of course, making sure to leave plenty of headroom for when the liquid expands as it freezes. I like plastic bags because they freeze flat and airtight, making them easy to store and keeping the sauce from getting freezer-burn.

Label your bag with the contents, amount, and date (so, not anything like the one in the picture).
You will want to label your bag better than this.
My first small batch I used some of it fresh and had enough for about 1 1/2 cups of sauce for freezing. A second, larger batch yielded four two-cup bags o' sauce. I usually use about two cups of sauce in most recipes; if you have a different frequently used recipe size, feel free to adjust accordingly.

Just measure:
Cup o' sauce.
And pour into the plastic bag:

Like so.
The original recipe has a nifty trick if you're doing several of these: prop your bags up inside a large pot so they'll all stay upright, making it easier to pour the sauce into the bags. Because this can get messy.

Seal the bag, pressing to remove as much air as possible. Then shimmy it around so it lies flat, like so:
Flat for storage.
You can stack bags on a cookie sheet to help them freeze flat, then line them up once they're frozen. The flat rectangle shape saves room in the freezer and thaws more quickly than a big pooled chunk.

And that's it! You now have summer-fresh tomato sauce for all your winter cooking needs.

Categories

almonds (2) apples (1) Asian (2) asparagus (2) avocados (1) bacon (8) baked (11) beans (3) beef (9) berries (4) bok choy (1) bread (7) breakfast (11) broccoli (3) budget (43) butternut squash (3) cabbage (2) cake (1) caramel (2) carrot (10) cheap (46) cheating (11) cheese (12) chicken (11) Chinese food (3) chipotle (1) chocolate (6) cookies (1) cooking rules (18) corn (4) cranberries (1) cream (3) cream cheese (2) crockpot (2) cucumber (1) dairy free (4) dessert (10) dipping sauces (3) dried beans (2) eggs (11) experiments (2) fast (40) fish (1) from scratch (41) garden (15) garlic (22) gluten free (5) grain free (3) green beans (2) greens (5) grilling (4) grocery shopping (8) healthy (32) homegrown (7) honey (8) Indian food (2) jalepeno (6) lemon (8) lentils (1) lettuce (3) lime (3) make ahead (6) Mexican (5) milk (3) oats (2) onion (12) orange (4) paella (1) pasta (11) pasta sauces (10) peanuts (1) pecans (1) pork (4) potato (6) pumpkin (2) quick sides (7) quick version (7) reality bites (14) rice (6) rice noodles (1) roasted (1) sage (1) salad (5) sausage (4) shrimp (4) simple (54) snacks (6) soup (5) sourdough (1) spinach (1) spring (4) sriracha (2) summer (11) summer squash (7) sweet potatoes (6) teriyaki (1) the DDH cooks (13) tomatoes (16) tortillas (5) vegetarian (24) winter (11) winter squash (2) zucchini (7)